Remember when a 28°C summer’s day was considered a scorcher? And, if it lasted for more than a week, standpipes suddenly appeared in the street?
Well, those sorts of temperatures are now considered modest, as the mercury stretches into the 30s most summer months – and even hit 40°C not that long ago.
One place it’s certainly sub-optimal to be in such temperatures is in an aluminium or plastic box. Daytime living in even the best camper van or motorhome can be uncomfortable enough when it’s superheated, but just try sleeping in your mobile sauna. And that’s in Britain – we haven’t even crossed the English Channel and started thinking about touring Europe in a campervan, yet!
While there are tricks you can try to keep cool on tour, there is one solution to being slowly poached in your beloved campervan – and that’s getting air conditioning.
As motorhome upgrades go, it’s one that can make a big difference when you’re on tour. Top manufacturers such as Truma, Dometic and Mestic have developed compact and energy-efficient air-conditioning habitation units that waft a refreshingly cool breeze around your ’van, lowering the temperature throughout and keeping the occupants unfrazzled.
But what does it take to professionally fit one of these air-conditioning units, and what is the likely total cost?
Fitting Truma Aventa air conditioning
“Aventa air-conditioning units are state-of-the-art, and highly efficient in every way – from low energy usage, to how quickly they cool or warm your leisure-vehicle interior,” says Truma’s Holly Hawley. “The compact, streamlined and super-efficient rooftop units take interior comfort to new levels and don’t obstruct the vehicle’s living space.”
We’re at Truma’s Derbyshire HQ, where technicians Simon and Rich will fit an Aventa Comfort air-con unit to a motorhome.
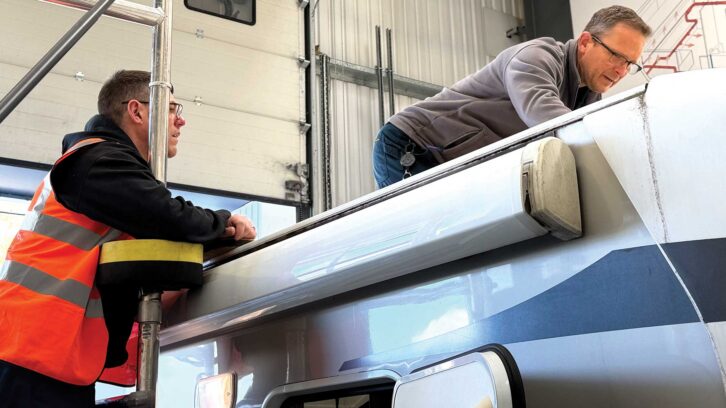
In the vast majority of campervans and motorhomes, fitting Aventa air conditioning is straightforward for an experienced technician. Truma recommends using its approved network or an AWS-accredited outfit to fit its systems.
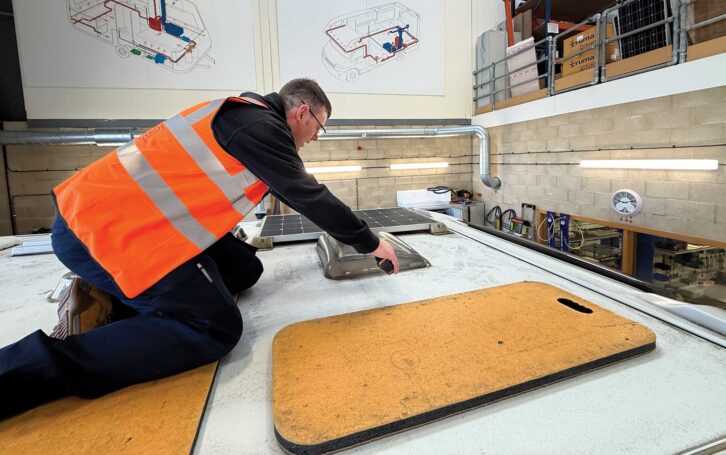
Aventa is designed to fit into an existing 40x40cm roof vent aperture. Where there is no appropriate vent, a hole will have to be cut into the roof panel of the vehicle. This takes around an hour, but isn’t any great impediment to having air-con installed.
Assessment
The Aventa fitting process starts with a careful and thorough assessment of the ’van, checking for sufficient space on the roof and an accessible 240V power source. Access to the control panel is also important.
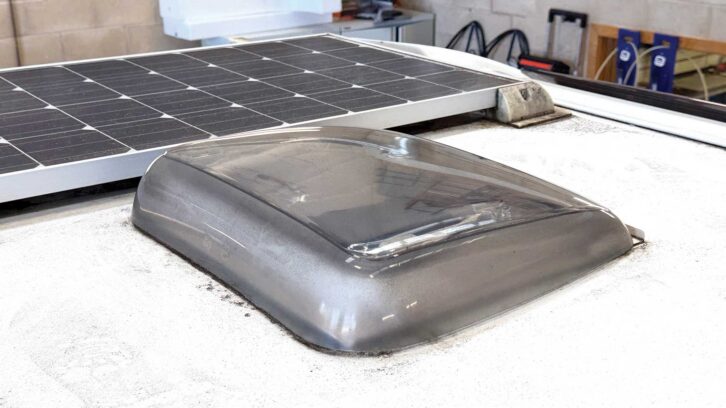
The technician measures carefully, to ensure there is enough room for the unit. With this particular motorhome, a solar panel left just a centimetre of spare space to work with. In the worst-case scenario, an existing campervan or motorhome solar panel, or satellite dish possibly, might have to be moved.
Preparing to install Truma Aventa air conditioning
Once it was confirmed that the Aventa would fit, the 40x40cm rooflight was removed.
First, it was unscrewed on the inside, then the sealant was carefully cut. The unit was eased away from the roof panel. Time was taken, so as not to damage the roof surface. Truma offers the rooflight back to the customer, in case they ever want to move the Aventa unit to another vehicle and replace the rooflight.
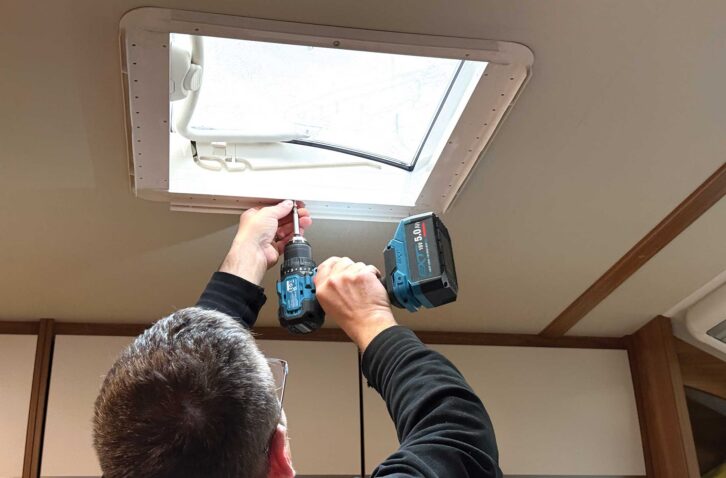
Next, the residual (and resilient) adhesive sealant is carefully scraped off the roof panel. A solvent spray was used to keep the scraper clear of sealant, and to clean the roof panel. These adhesives are very durable, so plenty of rags were used.
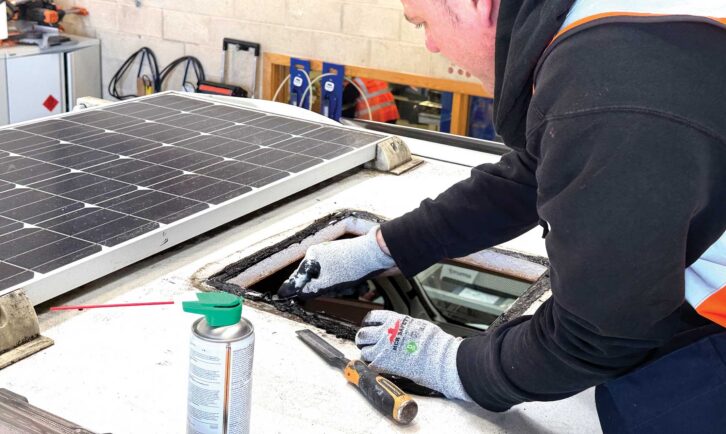
Once all the adhesive had been removed, the technician cleaned the wider area to ensure the A/C unit sealed properly.
Fitting the Truma Aventa air conditioning
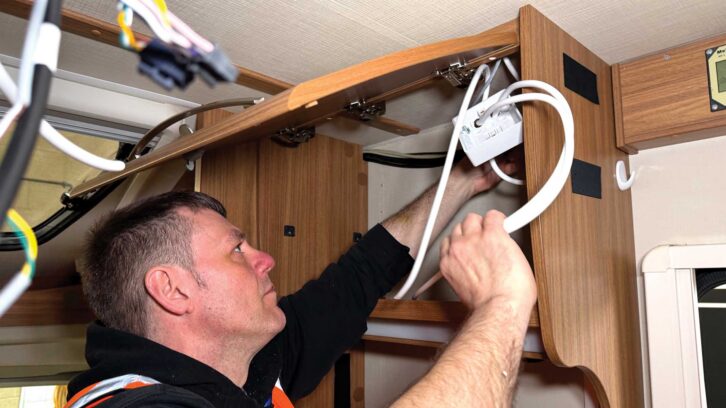
Once the roof was prepared, a channel had to be created to run the power cable to a 230V supply, and the data cable to the control panel. Typically, the engineer will try to take the cable into a roof locker, to ensure the installation is as discreet as possible. The best way to do this ‘invisibly’ is to bore a hole horizontally through the polystyrene layer in the roof panel. To avoid damaging the aluminium or GRP roof surface, or the ceiling panel, this can be done by hand using a long 12mm-15mm Auger-style drill bit.
To extend the hole all the way to the nearest roof locker space, Truma technicians use a sharpened length of stiff PE pipe. Once the bored hole reached a position above the top locker, a 20mm hole-saw was used to drill vertically and complete the channel into the locker.
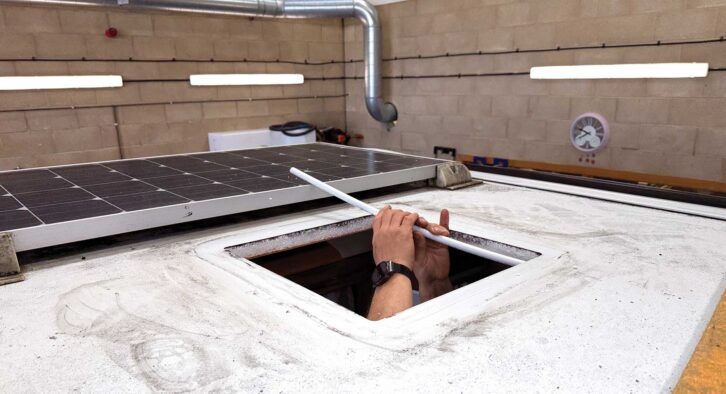
Next, after ensuring that the cables were long enough, they were fed through the hole and into the top locker, before they were cut to length at the roof aperture.
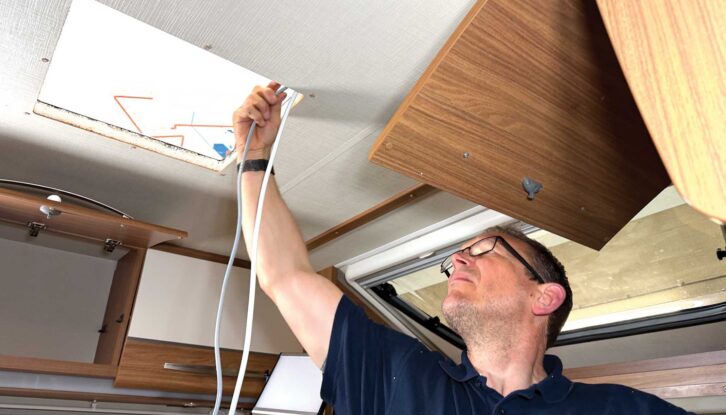
Inside the locker, a collar fixing was fitted around the cables and then screwed into place.
Getting the Aventa into position
Now, it was time to lift the Aventa unit into place on the roof. Both technicians lifted it carefully, because it weighs around 28 kilograms. It was positioned over the 40x40cm aperture, ensuring that no cables were trapped.
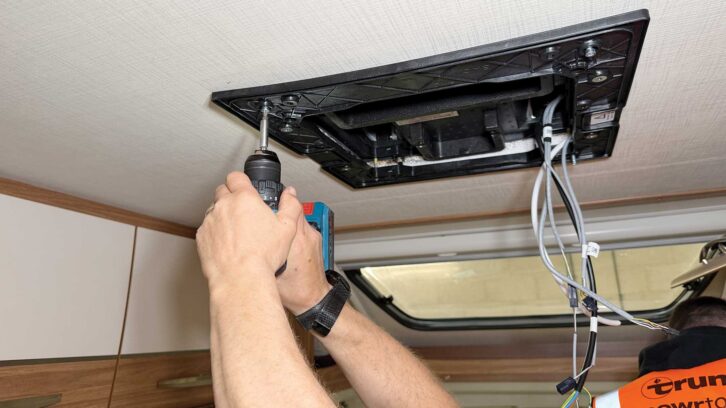
With the unit correctly positioned, the lead technician, Simon, went back inside the vehicle and fitted the internal frame, which secures the air-conditioning unit in place. He bolted it up firmly, thereby preventing any movement. Next, the power lead was attached to the power connector on the unit, the team ensuring that all the connections were secure.
The next step was to connect the CAN-Bus data cable to the air-con unit. This allows you to control the system from the main panel.
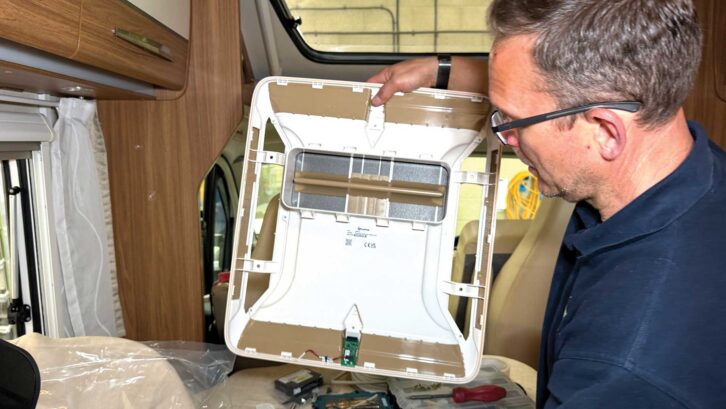
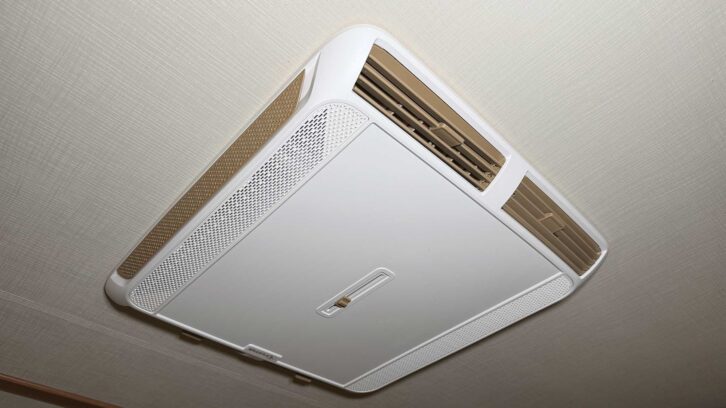
The unit’s fascia, with adjustable louvred vents, was then fitted and screwed in place. The main A/C unit was now installed.
Final connections
After working out the best way to route the power cable to the vehicle’s power unit, the technicians began that task. Generally, they try to keep the cabling hidden behind wall panels of the ’van, though there is also an option to fit a length of trunking.
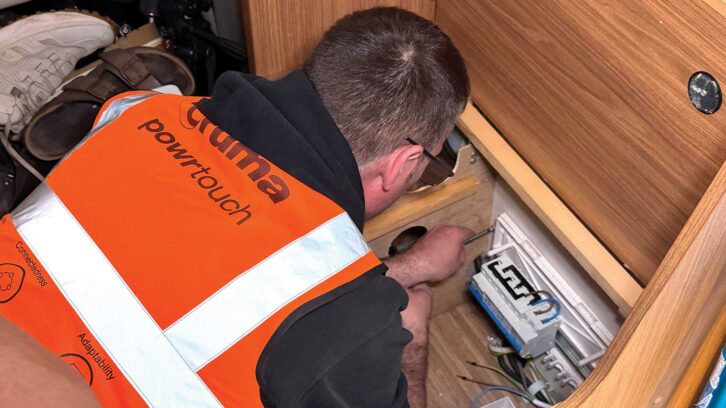
To prevent a total loss of power in the ’van should an air-con unit ever fail, the team fitted an isolator switch. This was positioned, sensibly and unobtrusively, in a locker. Then, once the cable was channelled down to the ’van’s electronic control unit, it was connected to the power source.
The next job was to connect the air-con unit to the cutting-edge Truma iNet X control panel, which, as usual, was located above the doorway.
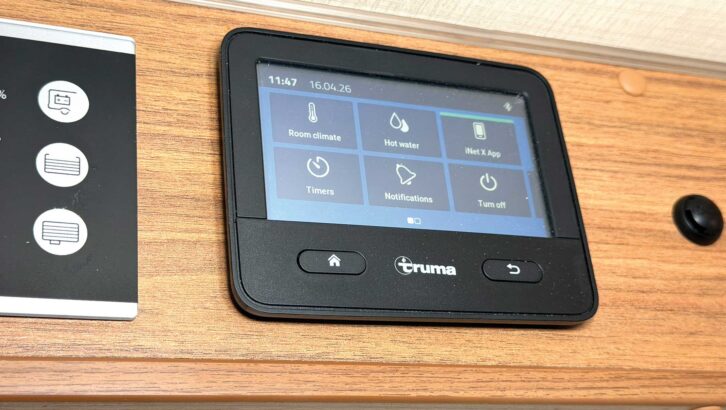
In this particular case, the aperture in the panel had to be enlarged slightly, to house the new panel. Once resized, the cables were fed through and connected to the panel, and the
iNet X display clicked into place.
Next, the digital connection between the new Aventa air-con unit and the control panel had to be established. This is done via the panel’s menu and takes a minute or so to process.
Now, it was time to sync the (free) phone app to the control panel, so that the system can be managed when you are outside or away from the ’van. Again, this process is automated and may take a few minutes.
For vehicles without the latest iNet X control panel, a separate interface can be fitted to deliver all the regular functionality.
Testing the Truma Aventa air conditioning
The system was now fully installed and connected, so it was time to test the air-con unit’s functionality, from both the control panel and phone app.
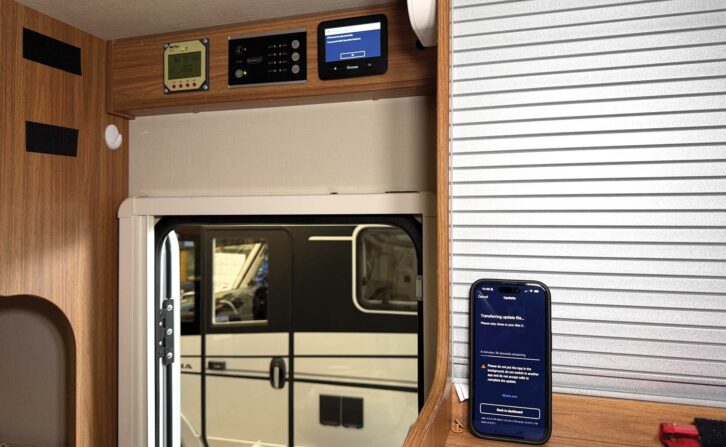
Once the technicians, Simon and Rich, were happy that everything was working properly, it was time to brief the customer on their new device!
Simon carefully explained how the system operates – it both cools and heats – and revealed the numerous functionalities that Aventa offers, along with the panel and phone-app options that are available to control it.
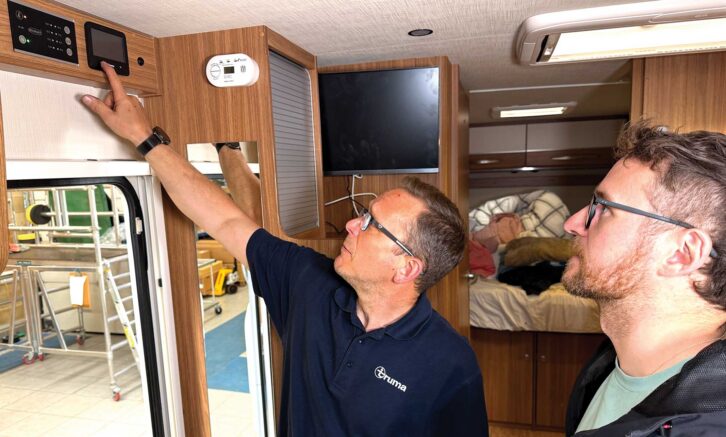
So, the job was completed, very neatly and in around three hours. I would estimate that a single technician would take four to five hours to complete the job, depending on the vehicle and access to the power and control points.
The customer looked very happy with his cool, new ‘toy’, and, because he and his family were heading straight to Spain, they’d almost certainly be testing it very soon.
While I’ve been talking about the roof of a ‘van, don’t miss my tips on how to clean a motorhome roof, either.
Future Publishing Limited, the publisher of Practical Motorhome, provides the information in this article in good faith and makes no representation as to its completeness or accuracy. Individuals carrying out the instructions do so at their own risk and must exercise their independent judgement in determining the appropriateness of the advice to their circumstances and skill level. Individuals should take appropriate safety precautions and be aware of the risk of electrocution when dealing with electrical products. To the fullest extent permitted by law, neither Future nor its employees or agents shall have any liability in connection with the use of this information. You should check that any van warranty will not be affected before proceeding with DIY projects.
If you’ve enjoyed reading this article, why not get the latest news, reviews and features delivered direct to your door or inbox every month. Take advantage of our brilliant Practical Motorhome magazine SUBSCRIBERS’ OFFER and SIGN UP TO OUR NEWSLETTER for regular weekly updates on all things motorhome related.