You know that nice feeling when everything in the motorhome is just perfect – all the small outstanding jobs such as the extra USB adapter, and spare plug for the sink, are all ticked off the list.
We’d decided to head to Europe in a motorhome, escaping the winter blues of the UK and get back down to Spain for temperatures at least 10 degrees warmer, if not more.
My wife and I had just completed the weekly motorhome maintenance. We’d emptied the grey water using a wheel-along Fiamma 20-litre tank that I tow behind my electric bike, and refilled the fresh water using a 25-litre plastic container that I carry on a DIY trolley, again behind my bike.
A small submersible pump was used to transfer the contents into the motorhome filler point – we had it all worked out! Plus, the toilet cassette that has enhanced wheel bearings and an extended handle so I can tow it along… You get the idea – and see our tips on how to empty a cassette toilet if you’re unsure about the process.
A day later, on entering the ‘van, I noticed some liquid on the floor at the corner beneath the motorhome cooker and, on closer inspection when lifting the adjacent rubber-backed mat, found it soaking underneath. The quest for the problem commenced.
There is a drawer beneath the cooker which normally has our pots and pans inside – this needed to be removed to allow us to look underneath.
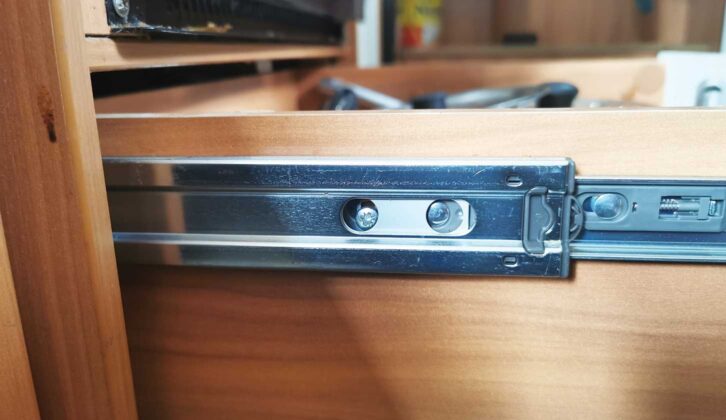
The release mechanism takes some finding by feel, but we did so in order to allow us to look beneath, where we found a lot of wiring and more.
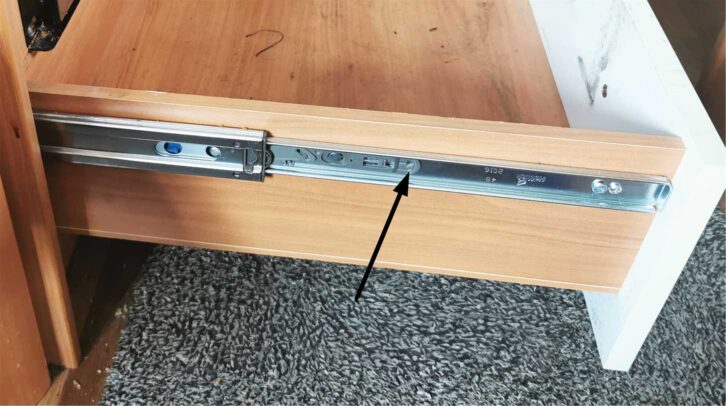
The ’van has an Alde motorhome heating system with a boost feature – this powers some fans that blow air through finned heat exchangers, and this was the first suspected area to inspect. This Alde bit is on the left of the photo. Loads of other pipes and connectors also hide under here, including the pipes for the heated floor. However, it seemed that this liquid had come from somewhere towards the rear of the ’van.
We progressed along to the next drawer, which normally holds a vacuum flask, cooking oil and several bottles of stuff, including Baileys!
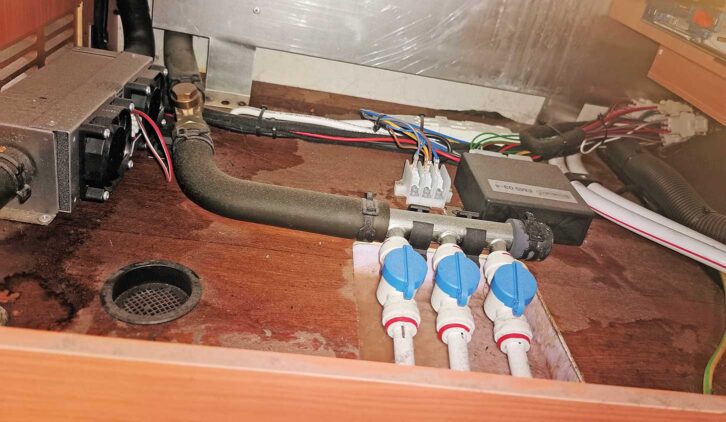
The area behind here is even more busy with clutter, and the top of the plastic wheelarch.

There are loads of mated electrical connectors, but again the liquid still seemed to be coming from further towards the back of the ’van.
So my mind turned towards the water filling point that was now close behind.
I do tend to keep filling until water runs out of the filling point, so I questioned whether the hose between the back of the filler had become damaged or partially detached – in which case, it could have been fresh water that had fallen directly onto the floor below and along the edge of the kitchen area to where we first spotted it.
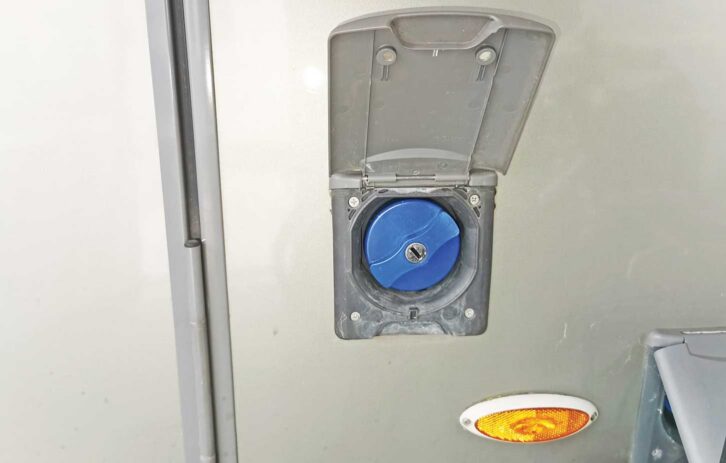
Access to the rear of the water-filling point is via the ’van’s garage, and behind a panel that supports the grey-water control switch and a pair of 13A sockets.

This meant removing four plastic caps and four screws to be able to tease this panel out. Another massive pile of electrical connectors were discovered; the hose and fittings were all found in perfect condition with no sign of water anywhere.

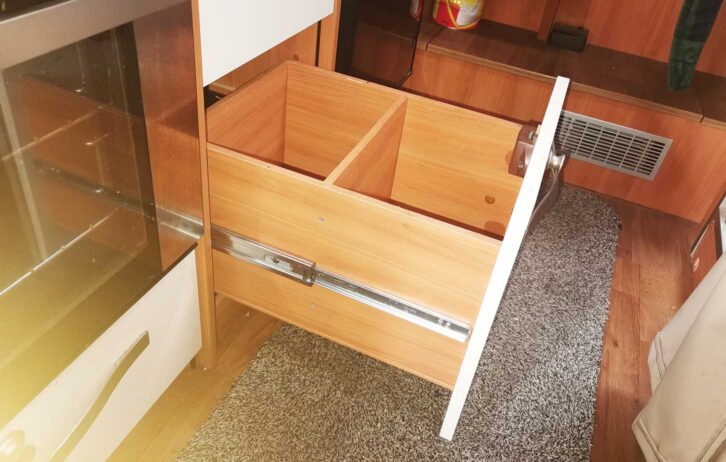
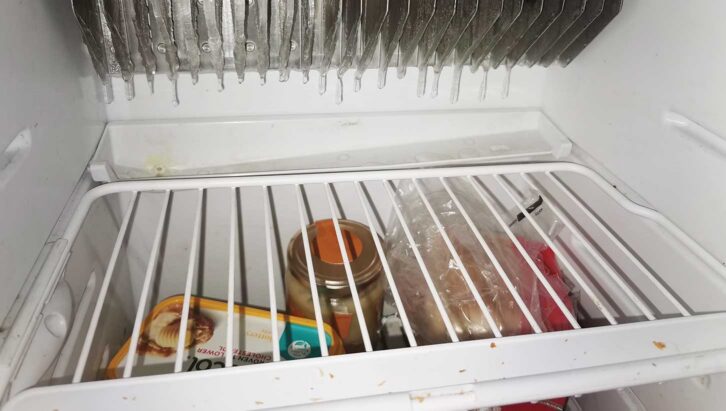
That just left the area under the motorhome fridge. I was reminded of the problem we’d had with water getting into the salad drawer at the bottom of the unit. The weekly ’van service had included a good sort out of the fridge, so the door was open a little longer than normal.
There is a large aluminium-finned heat exchanger at the top of the fridge compartment; this normally has frost on it, unless the door has been open too long, in which case it starts to drip. There is a drip tray beneath these fins to catch the water, but lots of evidence that this had simply dumped the water into the back of the fridge, which ran down the back and along the corner and onto the floor. Investigations continued and the adjacent shelf and the drip tray were removed.
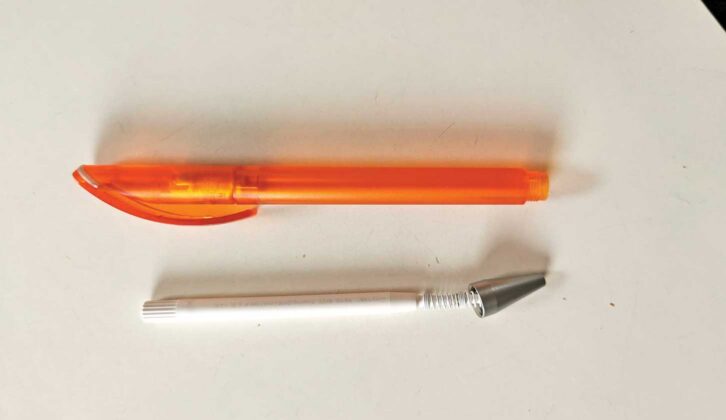
A small hole existed in the back of the drip tray at its lowest position. In the back wall of the fridge was a small spigot with a hole in the middle surrounded by what looked like a small O-ring. The use of some small long-nose pliers allowed a short length of plastic pipe to be withdrawn from inside the O-ring.
Now it was clear to see that this short length of plastic pipe was once part of the drip tray moulding. A new longer length of plastic pipe was obtained from inside a ballpoint pen supplied as a freebie at the caravan show at Düsseldorf!
The drip tray was drilled out to make a snug fit around the new bit of pipe and bonded in using two-part epoxy resin.
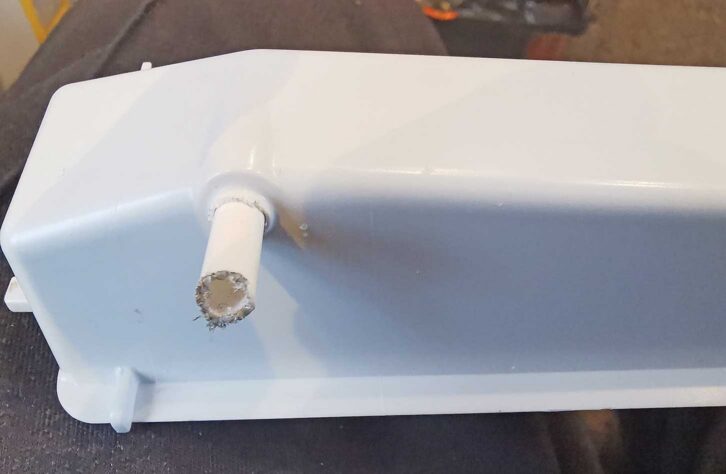
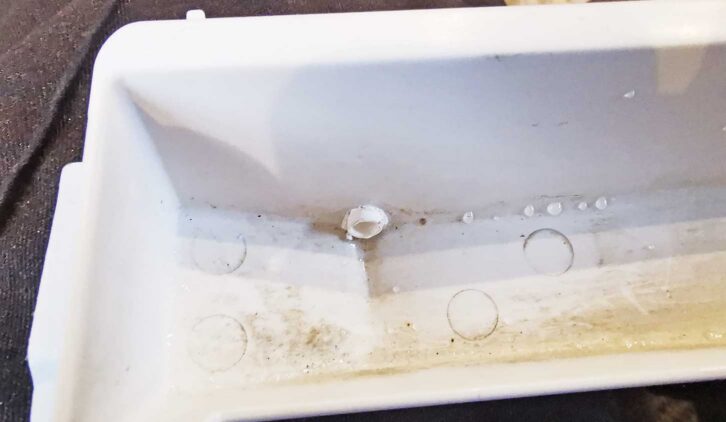
The drip tray was then re-installed with its pipe through the O-ring, so that any water can get to the evaporation part in the back of the fridge.

A week later and all was well: both the floor and salad tray were dry.
Take a look at what we have to say about the essential motorhome electric checks to carry out that could help to keep your holiday on track.
Future Publishing Limited, the publisher of Practical Motorhome, provides the information in this article in good faith and makes no representation as to its completeness or accuracy. Individuals carrying out the instructions do so at their own risk and must exercise their independent judgement in determining the appropriateness of the advice to their circumstances. Individuals should take appropriate safety precautions and be aware of the risk of electrocution when dealing with electrical products. To the fullest extent permitted by law, neither Future nor its employees or agents shall have any liability in connection with the use of this information. Double check any warranty is not affected before proceeding.
If you’ve enjoyed reading this article, why not get the latest news, reviews and features delivered direct to your door or inbox every month. Take advantage of our brilliant Practical Motorhome magazine SUBSCRIBERS’ OFFER and SIGN UP TO OUR NEWSLETTER for regular weekly updates on all things motorhome related.
Leave a Reply